19 February 2017

Marilla's Nightmare Dress

Sorry for my long absence, an unexpected internet outage and an expected trip to Vancouver put me off the refashioning bandwagon for a while.  But don't worry.  I've got a doozy of a refashion to make up for it today!

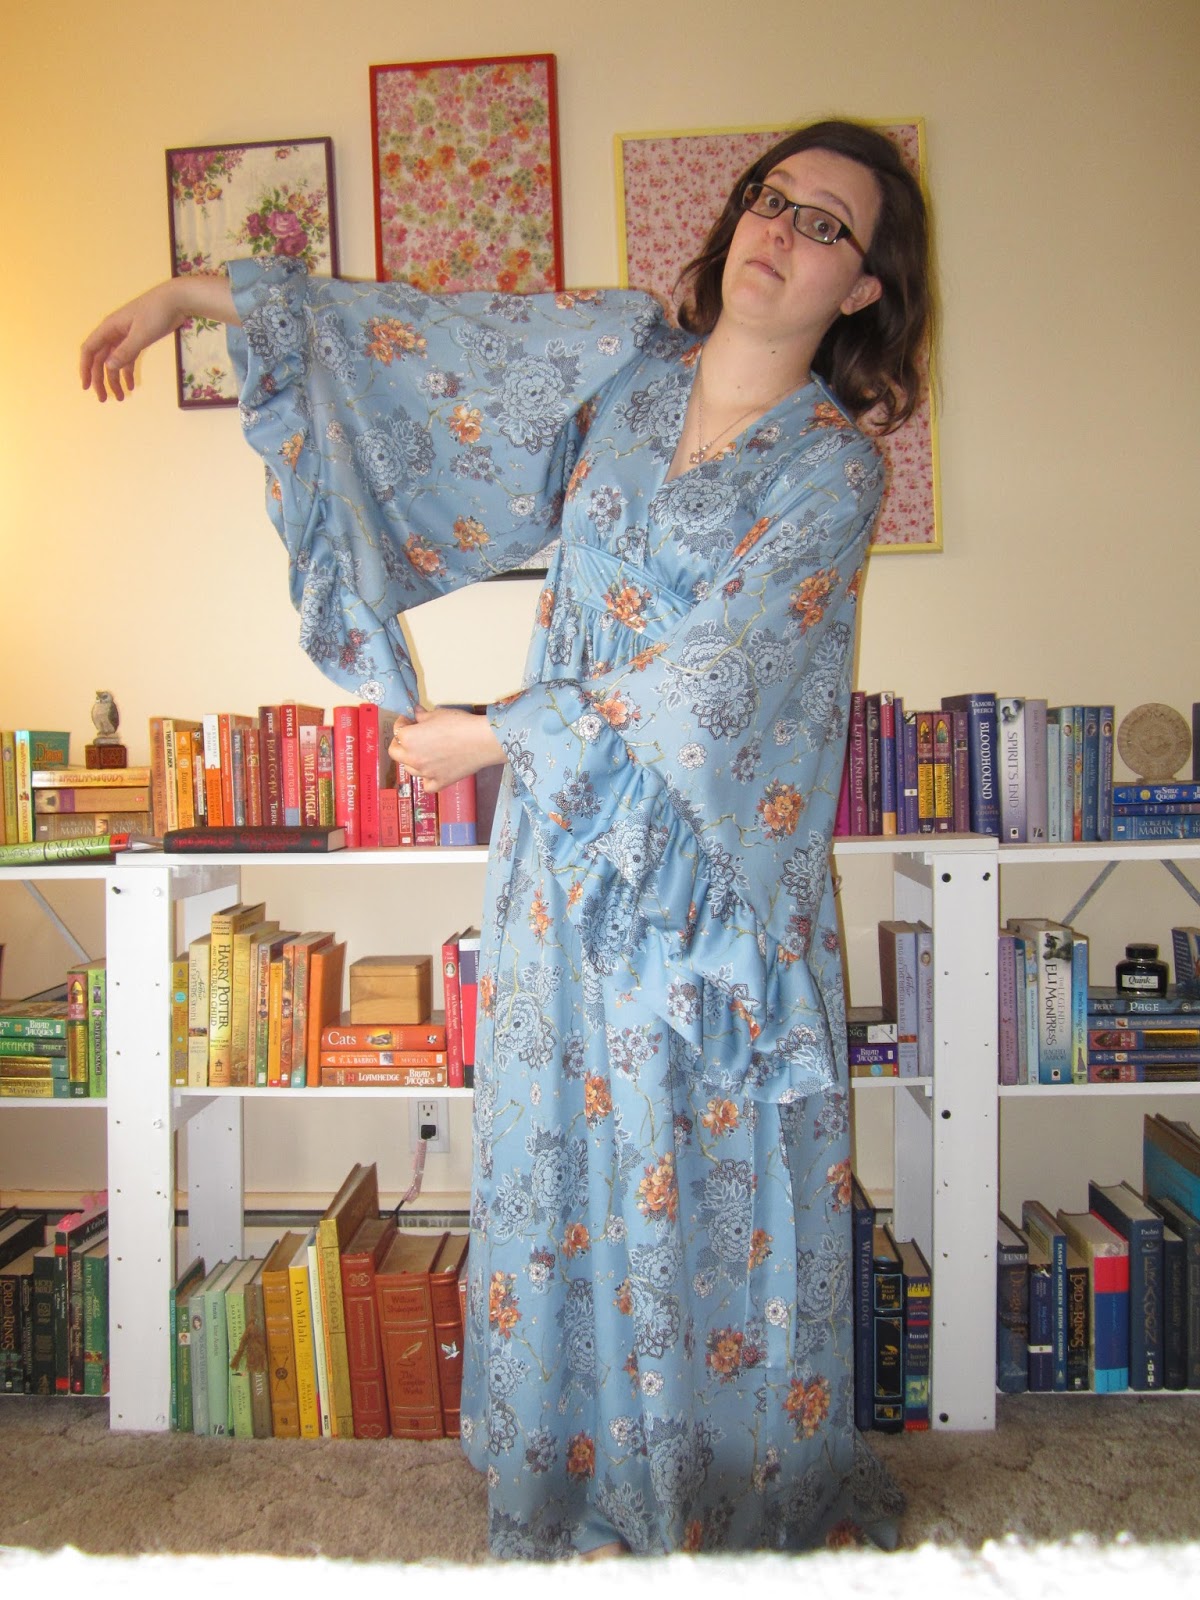
In Anne of Green Gables, Anne's stern guardian Marilla refuses to make Anne a dress with puffed sleeves (all the rage in the 1860s), saying "There's enough material in those sleeves alone to make a waist, I declare there is."  Well, I found the dress to give Marilla nightmares.

I swear, I could fit inside that.
Ok, let's address the elephant in the room--those sleeves are horrible.  But take another look at that dress.

These sleeves beg the question--how would you eat with them?!
It actually fits me perfectly.  I don't exactly count this as a point for this dress, because all it shows is that this weirdo ruffly kimono-thing is supposed to look exactly like this.  I'm not sure why anyone would want that.  I was so distressed by those sleeves, that I just hacked them off without thinking any further ahead.

Never again, giant sleeves, never again.
Then, of course, after making such a fuss about how I could fit into those sleeves, I simply had to try.

It fits, with room to spare!
After I finished marvelling at the sleeves, I began trying to decide what to do with the rest of the dress.  I didn't like the side ties, but I dithered about how to remove them.  I thought about doing the job properly, by unpicking the seams they were sewn into and then restitching the seams, but I didn't have enough pale blue thread to redo the topstitching on the front panel.  I decided to just cut them off as close to the seam as I could, and pray for the best (fortunately, I could tell from the unserged seam allowances inside this dress that it wasn't going to fray).

two side-ties in pretty fabric removed.
Unfortunately, I accidentally snipped a little too close when I was removing the right side tie.

Oops!
Yep, that's a little hole, and before I could go any further with this refashion, I would have to fix it.  I was lucky that it was so close to an existing seam, and in a part of the fabric that had a busy bit of pattern--my repairs wouldn't be too obvious.  I grabbed my tiny amount of blue thread, and the smallest needle I own.

Needle and thread to the rescue!
I quickly closed up that hole from the back.

Doing stitches!
Now that I'd fixed that problem, it was time to figure out what to do with those sleeves.  I started off simply by measuring to make sure they were the same length, and then folding the raw edge under and stitching it down (I had to make do with white thread--not perfect, but it was the best I had).  That left me with a really awkwardly gaping sleeve that looked like this:

Big, awkward armhole.
I played around with a few different ways of improving the sleeve opening, and eventually decided that the easiest would be simply to fold over two bits along the top section of the sleeve to make it look like this:

Much better fit!
 I pinched the fabric about an inch away from the apex of the sleeve, and folded it towards the top.

Fold one!
 Then I did the same on the back half of the sleeve.

Fold two!
I pinned it and stitched along the existing hemline to hide the fact that there were two lines of stitches along that section of the sleeve.  Then I fastened the edges of the hemmed part with a tiny stitch and knot.

Hidden stitch!
Those sleeves were finally taken care of!  For my final big change, I lopped off a good chunk from the bottom of the skirt.

That skirt had a lot of fabric in it!
I hemmed the bottom raw edge.  I should have hand-stitched it with a whip stitch, which would have made the bottom hem almost invisible and very flowy, but I was short on time.  So I went with the quicker option and just stitched a normal hem on my machine.  Then I took all my new seams to the ironing board for a quick press.

Especially those sleeves!
Here is the final result!


I confess, I'm still not thrilled about the sleeves.  I may revisit this refashion in the future, and see if I can do something better with them.  But considering what they started out as, I'm pretty pleased with this transformation!  This was one of my biggest refashions to date, so there were bound to be a few hiccups.  Tell me about your biggest refashion!  Did it turn out the way you wanted it to?


6 February 2017

Puppy-Watching Paisley Skirt

I decided to do a refashion this morning before going to my parents' place to puppy-sit for the afternoon.  I wanted something comfy to wear, which for me usually means a skirt.  When I dug through my refashion closet, I found this.

How d'ye do?
This is one of those extremely common thrift store items--the little old lady skirt.  They're not usually very flattering, but this one was particularly bad.  Part of the problem was that this skirt had clearly been crumpled up somewhere for a very long time, and the pockets (yes, it has pockets!) were all bunchy, hence my rather massive hips in this picture.  The other problem was this:

Frays for miles!
The bottom hem of this garment was barely clinging to life--or maybe it had already given up.  Either way, it was a mess, but one that I wasn't too worried about.  You see, I was going to fix both the little-old-ladiness of this skirt and that bottom hem all in one go.

Bye-bye, frayed edge and awkward length!
When in doubt, cut it off.  Maybe not the best rule for surgeons, but one that seems to work pretty well in the refashioning world.  I pinned and stitched a nice wide hem, since I'd left myself plenty of length to work with. 

My hem shall not come undone!
Then I went to town with my iron, because this skirt still had that bunchy-pockets problem going on.

hissss!
After pressing this skirt back into a wearable shape, I decided I might as well pretty-up for my "after" picture, so I toodled around trying on different shirts and leggings to go with it.  Take a look at that awkward skirt now!

fancy shmancy!
The necklace and lipstick are probably not going to stick around for puppy-sitting, but that skirt certainly will!  Changing the length of a skirt or dress is one of my favourite ways to refashion.  What's yours?

30 January 2017

A Cozy Cape

This refashion came about thanks to my good friend Sarah, who sent me this tutorial of how to make a cape.  I didn't have two meters of super-thick wool knit lying around, but I knew this wool skirt could easily become something similar.

This is a very stern skirt
This looks like something a cranky librarian would wear, and while I do work in a library I would never wear this to work!  Fortunately, this skirt did have a very nice flare to it that I was pretty certain would work well for my cape.  It also had something else.

A hook-and-eye closure! 
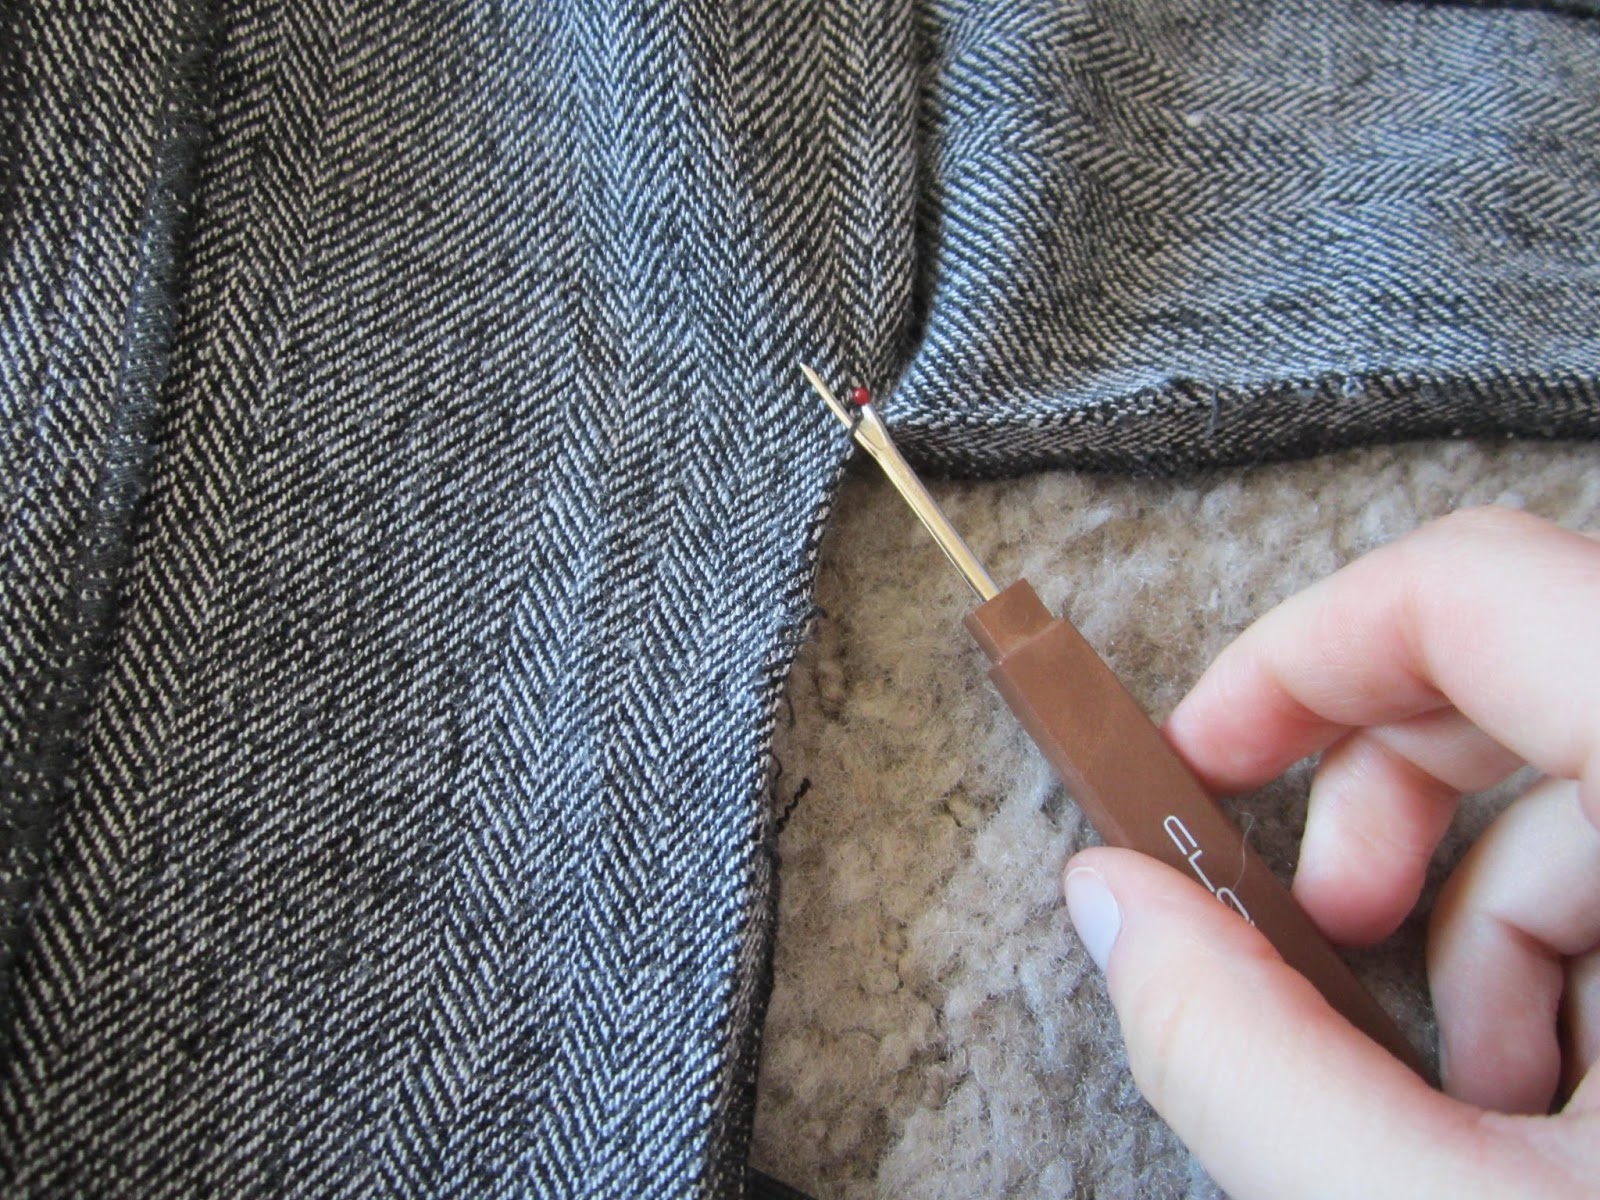
This little clasp at the top of the zipper was going to be how I'd fasten my cape and keep it on.  But first I needed to turn this tube into a flat piece of fabric again.  I grabbed my seam-ripper and took out the zipper.

Don't worry, I'll save it in case I can use it later!
Then I opened up the rest of the seam that the zipper had been sewn into.

pick, pick, pick...
All that ripping left me with this.

A skirt no longer!
Then I dressed Gruella and pinned in some shoulder seams, just like I did for the Starry Night Skirt-to-Tunic.

Fins are pinned.
I stitched down those shoulders and clipped off the extra fabric.

Stitch!
Clip!
And that's it!  Now I have a cape that's a decent knock-off from the one in the video, without having to go out for new fabric!  Thanks for the idea, Sarah!

Flowy!
I'd have to bundle up with a little more if I wanted to go outside, but for a winter's day of blogging and reading, this will keep me nice and cozy! 

26 January 2017

Autumnal Shirt-to-Skirt (or Clothes are Tubes, Part 2)

Look at this shirt.

meh.
The body is huge (though admittedly a decent length), but the sleeves are too short!  How does this make sense?  Fortunately, I knew how to fix it.

Mwahahahaha!
Nope, I'm not going to fix the bad fit of this shirt. I don't like button-ups anyway.  I'm going to turn this into a skirt!

Gruella doing her part.
 I put the bottom of the shirt onto Gruella, and pinned it into shape.

More pinning
Then I stitched down all of those new darts.


I trimmed off the extra fabric.

The jagged-toothed scissors!


Then folded down the top raw edge and stitched it down.

No fraying!
 And now I have a new fun skirt that fits perfectly!

Colourful!
It's a little autumnal for January, but the weather has been feeling a bit transitional recently so I figure I can get away with it.

20 January 2017

Clothes are Tubes

This refashion is such a cheap hack it barely seems worth posting.  It began with this too-small skirt.

Terrible skirt deserves terrible face...
I usually prefer to buy clothes that are too big, rather than too small, but I bought this one without trying it on, thinking that maybe I'd make a pillow-cover out of it if it didn't fit.

Then, last night, I came to a profound realization: all pieces of clothing are really just tubes!  Some are tubes with extra tubes, like shirts and pants, but skirts are as simple as they come. Inspired, and slightly chilled after a morning trip to the pool, I simply draped this too-small skirt around my neck into a fabulous over-size infinity scarf!

Keeping that wet hair away from my neck!
Easy as pie!